Free US Shipping Orders $100+


For centuries, the omelet (or omelette, si vous êtes Français) has been a litmus test for culinary talent; many aspiring chefs have placed the fate of their careers on their ability to cook and perfectly roll up a couple of eggs.

When we make omelets, we care less about perfection, and more about customization. We want an evenly (but not overly) cooked bed of eggs filled with mix-ins: cheese, meat, vegetables, whatever. In that way, omelets and frittatas aren't all that different, though the single-serving nature of an omelet lets you personalize it to your taste, like your favorite diner.

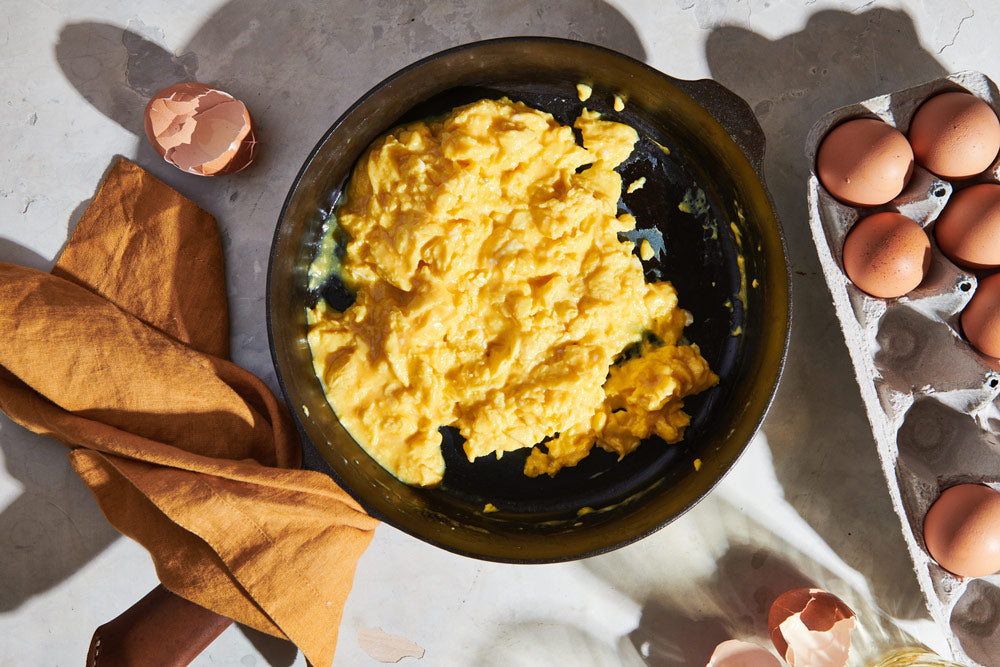
A well-seasoned cast iron skillet makes the task easy: cast iron's optimal heat retention ensures even cooking and the naturally nonstick surface makes for easy flipping.

Yield: 1 serving
Photo: Lauren V. Allen

Which Skillet to Use

The No.8 Field Skillet is our go-to for a more traditionally-sized omelets, with plenty of room for generous fillings. But the No.5 Chef Skillet is ideal if you prefer a thicker, more compact omelet—its smaller diameter keeps the eggs from spreading too thin, and the rounded sidewalls make folding and flipping effortless.

Field Notes

  • To achieve evenly cooked eggs, make sure you preheat your skillet for a few minutes; this will allow the heat to distribute evenly across the cooking surface.
  • You can add as many or few (or none at all!) mix-ins to your omelet, but make sure meats and vegetables are cooked to your liking before you add them; the warm eggs can't do much more than gently melt some cheese.
  • Don't freak about the flip: We simply fold one half of the eggs over the other, then tip the half-moon onto a plate. But if you want to shoot for a double-folded omelet, line your toppings down the center, then fold either side of the eggy circle over the middle.

Recipe: Cast Iron Omelet

Yield: 1 serving

Instructions

1.

Preheat and whisk: Heat your skillet over medium heat for a few minutes. In a bowl, whisk the eggs with the salt until no traces of whites remain.

2.

Melt the butter: Add the butter to the skillet. As it melts, swirl the pan to evenly distribute the butter.

3.

Cook the eggs: Add the eggs and stir quickly with a silicone spatula, gently shaking the pan as you go and breaking up any large curds that form; your goal is to create an even layer of eggs that will set at roughly the same time. Once you have a layer of soft-scrambled eggs—this should take a minute or so—use the spatula to push down any eggs that have climbed up the side of the skillet, to create a uniform disk of eggs on the surface of the pan. Add any toppings, if using, over one half of the eggs (always add cheese first, so it has time to melt).

4.

Check for doneness: The omelet is ready to flip when the top is creamy, like very soft-scrambled eggs, but there's no remaining liquid egg. If you end up with a pool of eggs on top of the skillet, swirl the pan to spread it out.

5.

Fold and serve: To flip, quickly slide your spatula around the perimeter of the omelet to loosen it, then slide it below one half of the circle and quickly flip it over the side with the toppings. Tip the skillet toward a serving plate, then use the spatula to flip it onto the plate.


Seasoning Rating: Better

Cooking with butter helps maintain your skillet's seasoning. Just be sure to clean promptly after cooking.

Seasoning Ratings:

Best—These dishes are the best options for building resilient seasoning, and surefire choices for getting tricky pans back on track.

Better—The best way to keep your skillet in great shape is to cook frequently, and cast iron-friendly dishes like these are your bread and butter.

Safe—These recipes won't strip seasoning away from your pan, but won't really add any, either.

OK—Be sure to clean up promptly. Recipes with this rating might feature acidic ingredients which can affect seasoning if not washed soon after cooking.